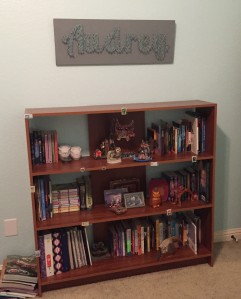
As part of my niece Audrey’s room redecoration, I made her a sign with her name on it to go with her new blue and gray room. I came across this DIY string art sign idea while perusing Pinterest and it was perfect – the right colors and even the right name! It seemed like it was meant to be.
I used one of my favorite fonts, Lobster Two  from FontSquirrel.com, and printed out large letters on my home printer (the largest – the A – ended up being 10″ tall). I used a 12″x1″ board, cut down the length to be just a bit larger than my letters, and painted it gray.
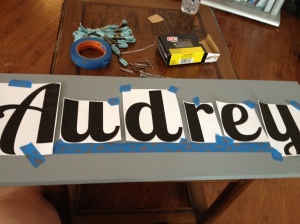 I cut most of the white space from my letters and placed them on the board, with a piece
of painter’s tape along the bottom edge to keep them in a straight line and the spacing adjusted unscientifically by eye.
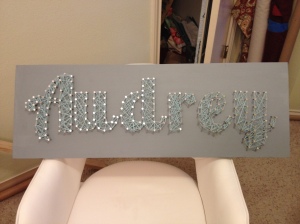
I hammered in nails along the outside of the letters, making sure a nail was at each corner or turn in the letter. After the nails were in and my cat was thoroughly traumatized by all the loud banging (it takes a LOT of nails), I tore away the paper and tape leaving only the nails behind. Then I used embroidery floss, tying the end of one skein to a nail, wrapping the floss around the outside of the letters, filling in the letters with random patterns and tying the skein off before moving to the next letter. I used about one skein per letter, but two for the A. With some picture-hanging hardware on the back, it was ready to be hung!

How cool!!! Love it, great idea
LikeLiked by 1 person